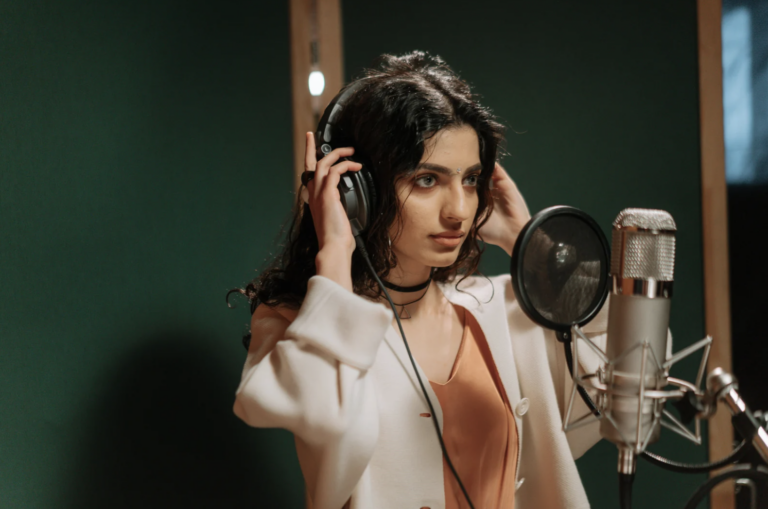
When a student sends me a video of themselves singing, I almost always hear something they can’t, because they’re too busy cringing at the sound of their own voice.
Recording yourself is one of the most useful tools a singer has in their toolbelt. And yet, the gap between what you think you hear (and negative judgments about it) and what I hear (and all the positives I pick out!) can stop singers from using recording as a learning tool.
It’s all too easy to miss out on all the insightful information that recording gives you about your voice and what areas you should be focusing your practice on.
If the concept of recording and playback makes you wince, start with my post on what to do when you don’t like the sound of your voice, then come back here. This is the next step: how to use recordings to get better.
It might be uncomfortable, but it’s WORTH IT
You can’t hear yourself the way an audience does. In the moment while you’re singing, you’re focused on the next note, the next breath, the next weeble, wobble or worry. So a recording gives you a second set of ears.
It’s also proof of progress, and something my students do to assess how their voices are developing (once they get over the initial discomfort). And guess what? They DO in fact hear changes.
A newer student told me the other day that they listened back to a recording of themselves from a month ago, at the start of lessons. They re-recorded themselves after a month of practice and could pick out a whole bunch of positive changes in breath control, pitch and even a bit of expansion in their range.
So recording works – both as a motivational tool and as a self-assessment.
When you can literally hear what needs more practice, it helps you recalibrate and provides you with a roadmap for the next part of your singing journey. You know what to focus on and can balance that with a sense of accomplishment in the areas that are already improving.
Step 1: Set yourself up to succeed
You don’t need fancy gear. Just start with your phone. Here are some tips:
•Keep clips short. Thirty to sixty seconds is enough. A whole song can feel overwhelming at first.
•Record the same thing each time, so you can compare over time. That could be song passage or warm up.
•Warm up first. Five minutes makes your voice feel easier, and you’ll judge it less. (Here’s why you should never skip your warm up.)
•Date every recording. Your phone should take care of this detail and future you will be glad.
Step 2: Calm your body before you press play
The cringe lives in your body as much as your head. Before you listen, take a minute to settle yourself. I like to do this calming technique:
1. Breathe in gently through your nose for a count of four
2. Breathe out slowly through your mouth for a count of six
3. Repeat for about a minute, letting your shoulders drop each time
If you’d like to go deeper, I’ve written about finding your deep, strong singing breath.
Step 3: Listen like a teacher, not a judge
This is where I’d love to give you my ears. Instead of asking “is this good?”, ask specific questions:
•Breath: Do I run out of air before the end of the phrase? If so, no biggie. That’s something you can improve!
•Tension: Can I hear squeezing or pushing, especially on higher notes? If so, you might need to incorporate more movement into your practice to keep your body loose.
•Space: Does my mouth open enough on my vowels, or does the sound feel pinched? If so, getting in the mirror really helps.
•Pitch: Do I tend to drift flat at the ends of phrases? If so, see my quick fix for falling flat.
•Connection: Where did the song feel alive? Where did I disappear? Check in with the lyrics and take a moment to reconnect with the story of the song.
You’re simply gathering information, so instead of immediately jumping to judgement, your goal is to learn more about your voice and how it works.
“I sound terrible” leaves you stuck. Where can you even go from there? “My jaw is tight on that note” gives you something to work with.
Step 4: Find one thing you liked
Before you start fixing, find one moment you enjoyed. A note that felt good, a phrase with a lovely shape, a bit of feeling that came through. Or progress you can hear, even if it’s micro-progress! Write it down.
That keeps your listening balanced, so you’re noticing what’s working as well as what could change.
Step 5: Change one thing, then record again
Pick just one thing to focus on, and then record the same short clip again to compare. A few of my favourite starting points:
•Soften your tongue. Many of us hold tension at the back of the tongue without realizing it. Try sticking your tongue out gently and singing a few easy notes on “ah,” then bring it back in and keep that soft feeling.
•Release your jaw. Gently massage the hinge of your jaw, let your mouth hang loose for a moment, then sing again without clamping down.
•Open up on your vowels. I’m always begging singers to open their mouths bigger than they think they need to. A little more room can make a big difference.
Track your progress
Once a month, record the same short passage and keep it in a folder. After three months, listen to the first and the latest back to back. Progress in singing can be gradual, and it’s easier to hear on a recording than to feel from day to day. (If you’re wondering how long it actually takes, I wrote about how long it takes to get better at singing.)
Your turn
This week, record yourself for 30 seconds. Listen back like a teacher, find one thing you liked, and change one thing.
Want a guided warm-up before you record? Grab my free Warm Ups and start with five minutes today.
And if you’d like me to listen with you, let’s get started. I’d love to hear your voice.
Happy Singing!
About the author:
Jill Samycia is a vocal coach and the owner of Sing With Jill. For over 20 years she has helped students of all ages and levels, from beginners to professional singers and actors, unlock their unique sound and sing freely. A former professional singer, she teaches from her studio in East Vancouver.